While do-it-yourself projects can be fun and fulfilling, there is always a potential for personal injury or property damage. We strongly suggest that any project beyond your abilities be left to licensed professionals such as electricians, plumbers, and carpenters. Any action you take upon the information on this website is strictly at your own risk, and we assume no responsibility or liability for the contents of this article.
How to Build a Fire Pit

Since the dawn of time, people have been gathering around fires to eat, drink, celebrate, and relax. Summer nights still encompass this idea. A well-built fire pit is perfect for parties, s’mores, and outdoor gatherings. Light up your night with this step-by-step guide to building the perfect fire pit.
1. Determine the Size and Style of Pit

There are many different sizes and shapes you can use to create a fire pit, but the most common ones are circular and rectangular. The optimal size for a fire pit is between 36" and 44" in diameter. For a circular pit you’ll want to use trapezoidal blocks that fit snug together without creating gaps. For rectangular pit use rectangular blocks in a variety of patterns. There are many different types of rectangular blocks, don’t be afraid to get creative.
2. Prep the Area

Start by dry-fitting all of your concrete blocks together to ensure everything fits. Use a chisel and a brick hammer if you need to cut down a block to make it fit. Score the block on all sides, then hold the chisel on the line, hitting it with the hammer until the block splits. Using a shovel, mark the outside pit. Take note of your layout and move the blocks out of the way.
3. Dig Out the Pit

4. Build Your Base

Fill the base of your pit with 5"-6” of crushed gravel. Use a garden hose to wet down the gravel to make it easy to compact. Using the hand tamper again pack down the gravel, keeping it even and level. Place the blocks back into your pit to ensure the gravel is distributed evenly and the blocks line up perfectly.
5. Lay the First Layer

Lay down your first block, then use a level to make sure it is even and ensure consistency throughout the pit. Use a rubber mallet to push the block lower and some leveling sand to raise up the block. Continue this process for the entire first row.
6. Build up the Walls

Begin placing the second layer of blocks on top of the first row staggering the joints. Use a caulking gun and masonry adhesive to glue the blocks together. Squeeze out a bead of adhesive in a zigzag pattern one block at a time. Continue this until the second layer is finished. Use the level to check the evenness of layer two before moving onto the last layer.
7. Fill with Gravel and Insert Ring

Fill the pit with 6” of gravel, which will help make the base of your fire pit stronger. Even out the gravel before placing the fire ring in place. Fire rings usually come in standard sizes so build your pit around this.

Feel free to get creative with your fire pit and the surrounding area. You can opt to place pavers around the fire pit or maybe rocks. Whatever you do, make it your own. Then sit back and enjoy long summer nights roasting marshmallows around the fire. Get everything you need to complete this project at your local Do it Best store. If you'd rather buy a fire pit instead of building one, Do it Best has plenty of options.
Related Articles
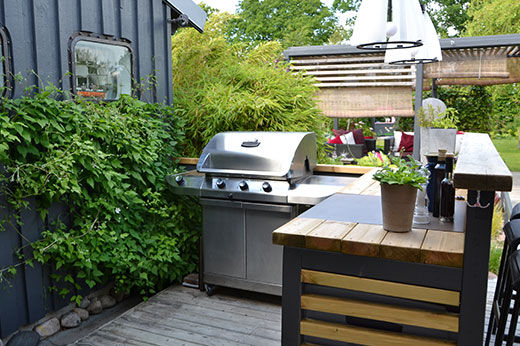
Elements of a Great Outdoor Kitchen
Seven items to add flair and excitement to your next backyard barbecue
Learn more

5 Reasons to Add a Backyard Griddle to Your Outdoor Kitchen
Find out why these flat-top wonders are the hottest trend in outdoor cooking!
Learn more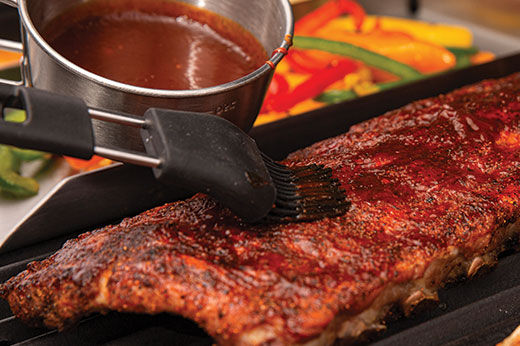
Grilling Accessories & How to Use Them
Check out these helpful tools to expand your grilling capabilities
Learn more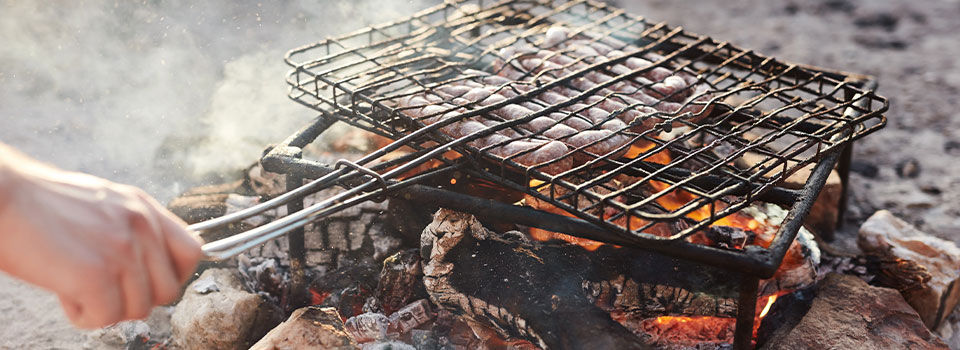
Guide to Cooking with a Fire Pit: Tips and Considerations
Get ready to cook more than just marshmallows in your backyard this summer
Learn more