Pizza ovens must feature correctly sized interior dimensions, smooth curves to encourage heat mixing and airflow, and proper ventilation to keep the fire burning steadily with a fresh supply of air. Getting all of these details right in a unique handmade design is trickier than you might expect.
How to Build an Outdoor Pizza Oven

Indoor gas and electric ovens are convenient, but they are limited in the temperatures they can produce. Outdoor pizza ovens powered by wood can reach temperatures of over 800 degrees Fahrenheit, and are a great backyard centerpiece and a surprisingly easy project to build.
If you’re new to masonry, try a complete kit. For more experienced bricklayers, good plans and a load of firebricks may be all you need for the oven of your dreams. Whichever approach you take, there are a few essential and easy steps to take to ensure you're on the right track from the start.

Pick the Right Spot

Since you need to build a sturdy cinderblock base to hold the oven at the right height, you’ll want a flat, level, and cleared area in your backyard to start with. Remove any vegetation and dig up surface tree roots that might lift or shift the structure. Consider placing the oven close to the house for easy access, but not so close that smoke might blow in through the windows.
Stock up on Tools and Materials

The required tools and materials will depend on the plans or kit you choose, but some common requirements include:
- Cement mixers or tubs for mixing
- Grout bag
- Cement and mortar trowels
- Exterior-grade plywood or melamine to serve as the form for the concrete slab base
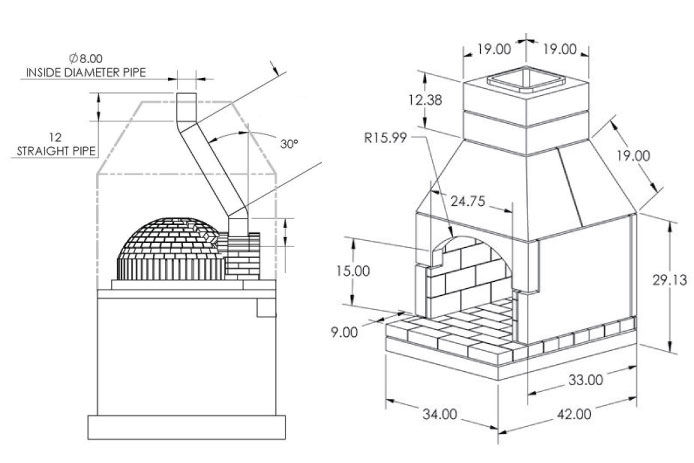
- Interior oven parts like a flue for wood-fired ovens and gas burners for propane models
- A premade brick oven door that fits your plans or kit
- Standard cinderblocks to stack into a base until it reaches the desired height
- Rebar and concrete to reinforce the base of concrete blocks
- Refractory mortar and grout for sealing seams between firebricks and any premade parts
- Firebricks and refractory cement for building the chamber and dome, if not using a kit
Gather some personal equipment for working with concrete such as gloves and masks. If you’re doing any custom cutting of brick or tile to decorate the exterior of the oven and its base, make sure you have goggles or a face shield as well.
Build the Base

Whether you’re assembling a kit or building from scratch, you’ll find that ovens don’t include the supports to raise them to a comfortable working height. You’ll need to build this base first out of a high-strength material like cinderblocks.
Don’t just dry-stack the blocks and then get to building your oven. Reinforce them with lengths of rebar and concrete poured into the openings. Consider pouring a custom concrete countertop before building the oven for extra workspace.
Dry-Fit the Pieces

Before assembling your kit or building your firebrick arch according to the plans, do a test run of the materials by dry-fitting them together. You may be surprised to find that you’re short a few bricks or need to extend the size of your base before doing the final assembly.
It’s hard to handle these kinds of challenges in the middle of installation due to the quick-setting nature of mortar and cement. Dry-fitting gives you a chance to catch problems while they’re relatively easy to fix.
Seal It All Together

Your final step will be to fit the dome to the base and apply plenty of refractory grout to seal any seams. While mortar goes between two pieces when instructed in the plans, the high-temperature grout is applied to the outside of seams to make them air-tight. Only apply this grout to the exterior of the oven, never on the inside.
Give your new oven plenty of time to cure. Check the longest curing period of the materials used, which will usually come with any cement or concrete, and wait at least that long. Firing the oven too early is dangerous because water trapped in cement or grout can explode and break apart brick and tile. If it rains during the waiting period, add a few extra days for security.
With these tips, you should be prepared to tackle any brick oven kit or set of plans you find.
While do-it-yourself projects can be fun and fulfilling, there is always a potential for personal injury or property damage. We strongly suggest that any project beyond your abilities be left to licensed professionals such as electricians, plumbers, and carpenters. Any action you take upon the information on this website is strictly at your own risk, and we assume no responsibility or liability for the contents of this article.